안드로이드 스튜디오 event 처리
안드로이드 스튜디오반응형
| method | |
| onClick(View v) | 사용자가 항목 터치하면 호출 |
| onLongClick(View v) | 사용자가 항목을 길게 터치하면 호출 |
| onKey (View v) | 사용자가 기기의 키를 누르거나 떼면 호출 |
| onFocuseChage(View v) | 사용자가 다른 항목으로 포커스 하면 호출 |
| onTouch(View v) | 화면 누르기, 떼기 등 화면에서 이루어지는 모든 움직임에 의해 호출 |
| onCreateContextMenu(View v) | 메뉴 구축중에 호출 |
| id 이용 | |
| findViewByld(int id) | id값을 찾아준다. R.id.아이디 이름의 형태로 이용 |
| setOnclickListener(OnclickListener listener) | 이벤트 리스너 설정 |
버튼과 관련하여 이벤트 처리 하는 방법
xml
<?xml version="1.0" encoding="utf-8"?>
<LinearLayout xmlns:android="http://schemas.android.com/apk/res/android"
    xmlns:app="http://schemas.android.com/apk/res-auto"
    xmlns:tools="http://schemas.android.com/tools"
    android:layout_width="match_parent"
    android:layout_height="match_parent"
    android:orientation="vertical"
    tools:context=".MainActivity" >

    <Button
        android:id="@+id/button"
        android:layout_width="match_parent"
        android:layout_height="wrap_content"
        android:text="이벤트 처리 1" />

    <Button
        android:id="@+id/button2"
        android:layout_width="match_parent"
        android:layout_height="wrap_content"
        android:onClick="button2click"
        android:text="이벤트 처리 2" />

    <Button
        android:id="@+id/button3"
        android:layout_width="match_parent"
        android:layout_height="wrap_content"
        android:text="이벤트 처리3" />

    <LinearLayout
        android:layout_width="match_parent"
        android:layout_height="wrap_content"
        android:orientation="horizontal">

        <Button
            android:id="@+id/button4"
            android:layout_width="wrap_content"
            android:layout_height="wrap_content"
            android:layout_weight="1"
            android:text="Button4" />

        <Button
            android:id="@+id/button5"
            android:layout_width="wrap_content"
            android:layout_height="wrap_content"
            android:layout_weight="1"
            android:text="Button5" />

        <Button
            android:id="@+id/button6"
            android:layout_width="wrap_content"
            android:layout_height="wrap_content"
            android:layout_weight="1"
            android:text="Button6" />
    </LinearLayout>

    <LinearLayout
        android:layout_width="match_parent"
        android:layout_height="wrap_content"
        android:orientation="horizontal">

        <Button
            android:id="@+id/button7"
            android:layout_width="wrap_content"
            android:layout_height="wrap_content"
            android:layout_weight="1"
            android:text="Button7" />
        <Button
            android:id="@+id/button8"
            android:layout_width="wrap_content"
            android:layout_height="wrap_content"
            android:layout_weight="1"
            android:text="Button8" />
        <Button
            android:id="@+id/button9"
            android:layout_width="wrap_content"
            android:layout_height="wrap_content"
            android:layout_weight="1"
            android:text="Button9" />
    </LinearLayout>

</LinearLayout>
java
package com.example.event;
import androidx.appcompat.app.AppCompatActivity;
import android.os.Bundle;
import android.view.View;
import android.widget.Button;
import android.widget.Toast;
public class MainActivity extends AppCompatActivity {
Button button1;
Button button3;
Button button4,button5,button6;
Button button7,button8,button9;
@Override
protected void onCreate(Bundle savedInstanceState) {
super.onCreate(savedInstanceState);
setContentView(R.layout.activity_main);
button1 =findViewById(R.id.button);
button1.setOnClickListener(new View.OnClickListener() {
@Override
public void onClick(View v) {
Toast.makeText(getApplicationContext(),"버튼1이 눌러졌습니다.",Toast.LENGTH_SHORT).show();
}
});
button3 = findViewById(R.id.button3);
MyButtonClass bntlistener = new MyButtonClass();
button3.setOnClickListener(bntlistener); //따로 클래스 생성해서 하기
Button.OnClickListener on = new View.OnClickListener() {
@Override
public void onClick(View view) {
switch (view.getId())
{
case R.id.button4:
Toast.makeText(getApplicationContext(),"버튼4가 눌러졌습니다.",Toast.LENGTH_SHORT).show();
break;
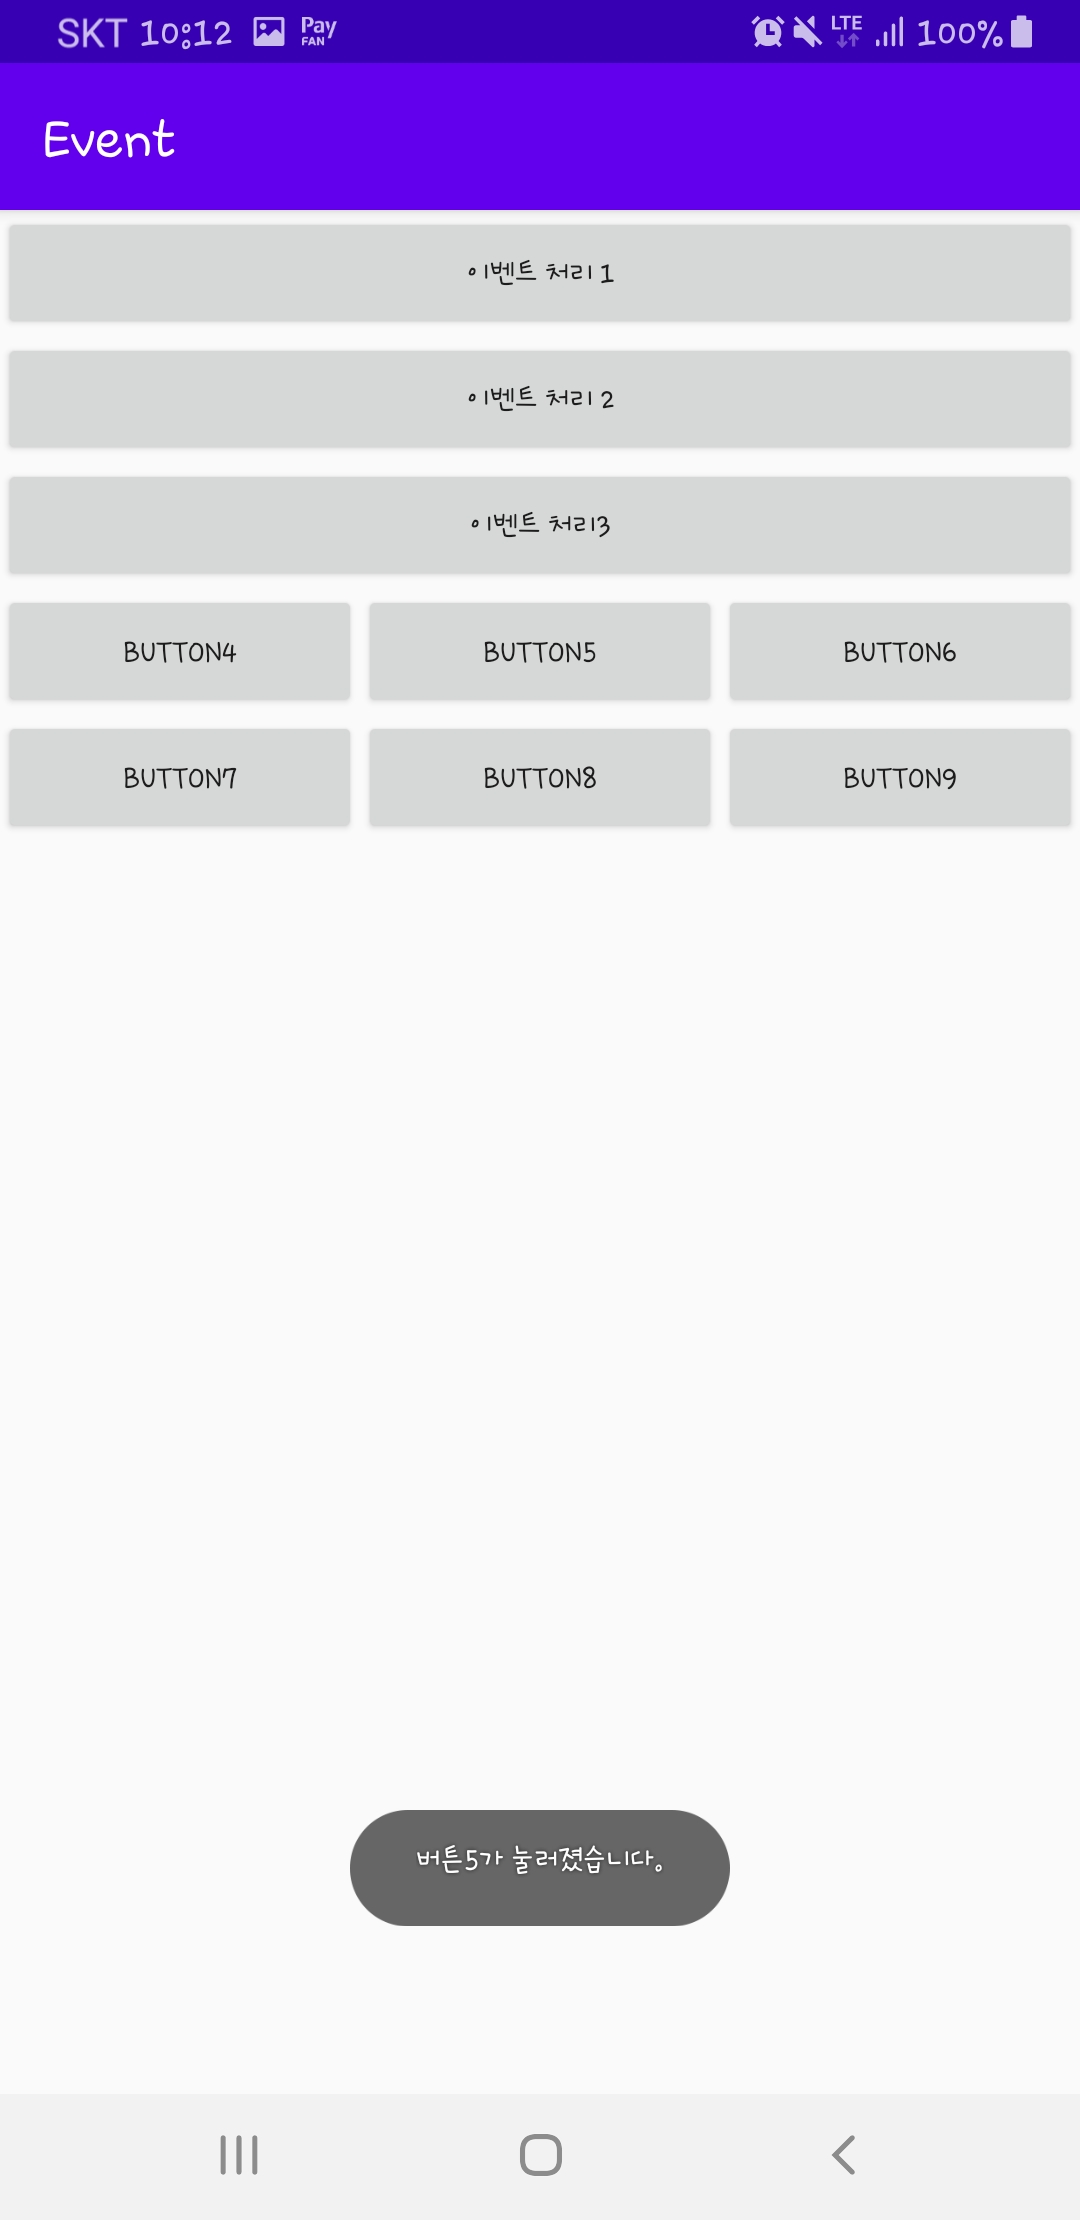
case R.id.button5:
Toast.makeText(getApplicationContext(),"버튼5가 눌러졌습니다.",Toast.LENGTH_SHORT).show();
break;
case R.id.button6:
Toast.makeText(getApplicationContext(),"버튼6이 눌러졌습니다.",Toast.LENGTH_SHORT).show();
break;
}
}
}; //버튼 4~5 한번에 묶어서 스위치문으로 실행 시키기
button4 = findViewById(R.id.button4);
button5 = findViewById(R.id.button5);
button6 = findViewById(R.id.button6);
button4.setOnClickListener(on);
button5.setOnClickListener(on);
button6.setOnClickListener(on); //이벤트 설정하고 난뒤 아래에 선언
BtnOnClickListener onclick1 = new BtnOnClickListener();
button7=findViewById(R.id.button7);
button8=findViewById(R.id.button8);
button9=findViewById(R.id.button9);
button7.setOnClickListener(onclick1);
button8.setOnClickListener(onclick1);
button9.setOnClickListener(onclick1); // 4~6번과 비슷하지만 미리 선언 후 따로 클래스 지정
}
public void button2click(View view) {
Toast.makeText(getApplicationContext(),"버튼2이 눌러졌습니다.",Toast.LENGTH_SHORT).show();
} // xml파일에서 선언하고 바로 불러오기
class MyButtonClass implements View.OnClickListener{
@Override
public void onClick (View view)
{
Toast.makeText(getApplicationContext(),"버튼3이 눌러졌습니다.",Toast.LENGTH_SHORT).show();
}
} //버튼 3
class BtnOnClickListener implements View.OnClickListener{
@Override
public void onClick (View view){
switch (view.getId())
{
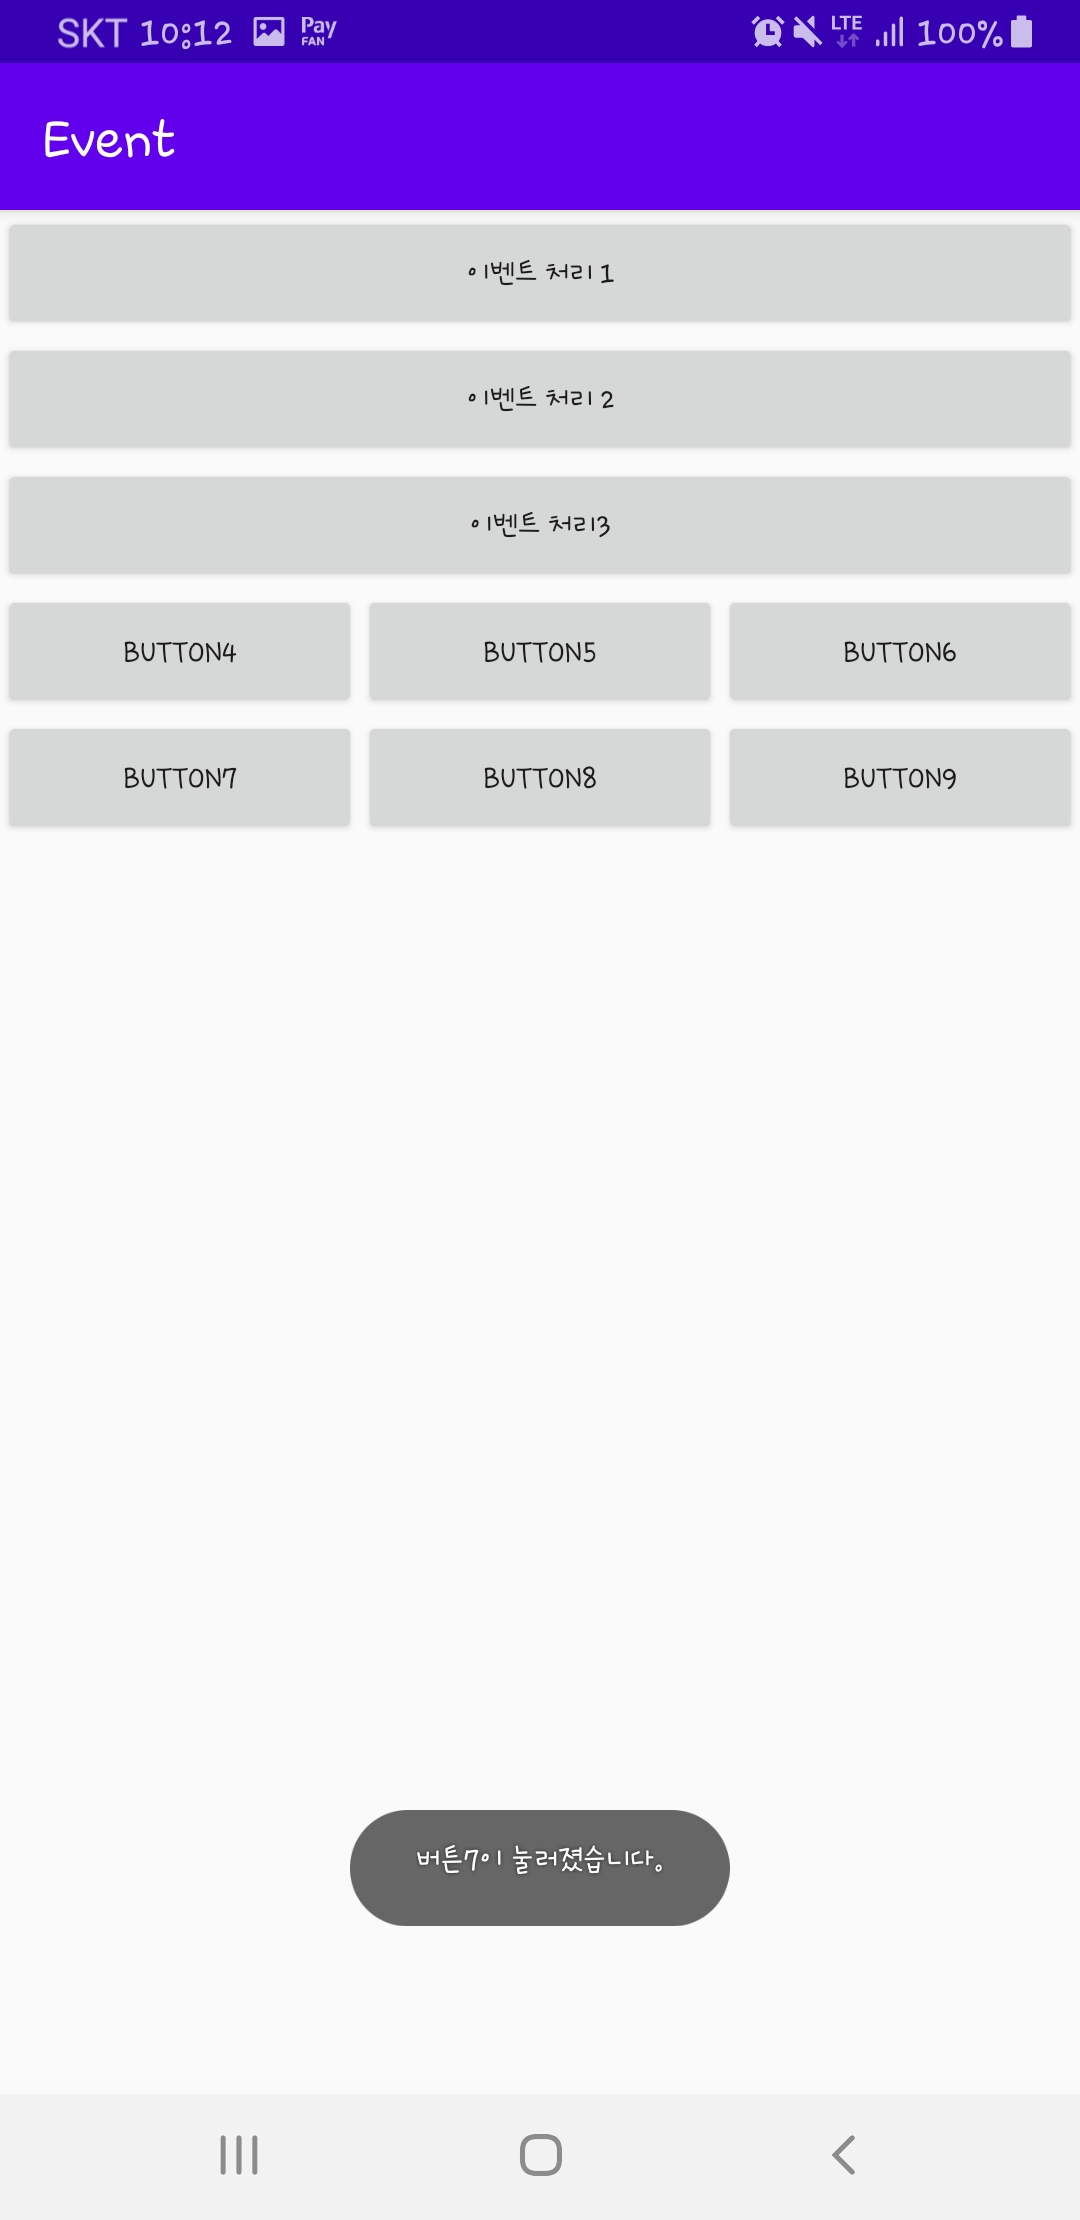
case R.id.button7:
Toast.makeText(getApplicationContext(),"버튼7이 눌러졌습니다.",Toast.LENGTH_SHORT).show();
break;
case R.id.button8:
Toast.makeText(getApplicationContext(),"버튼8이 눌러졌습니다.",Toast.LENGTH_SHORT).show();
break;
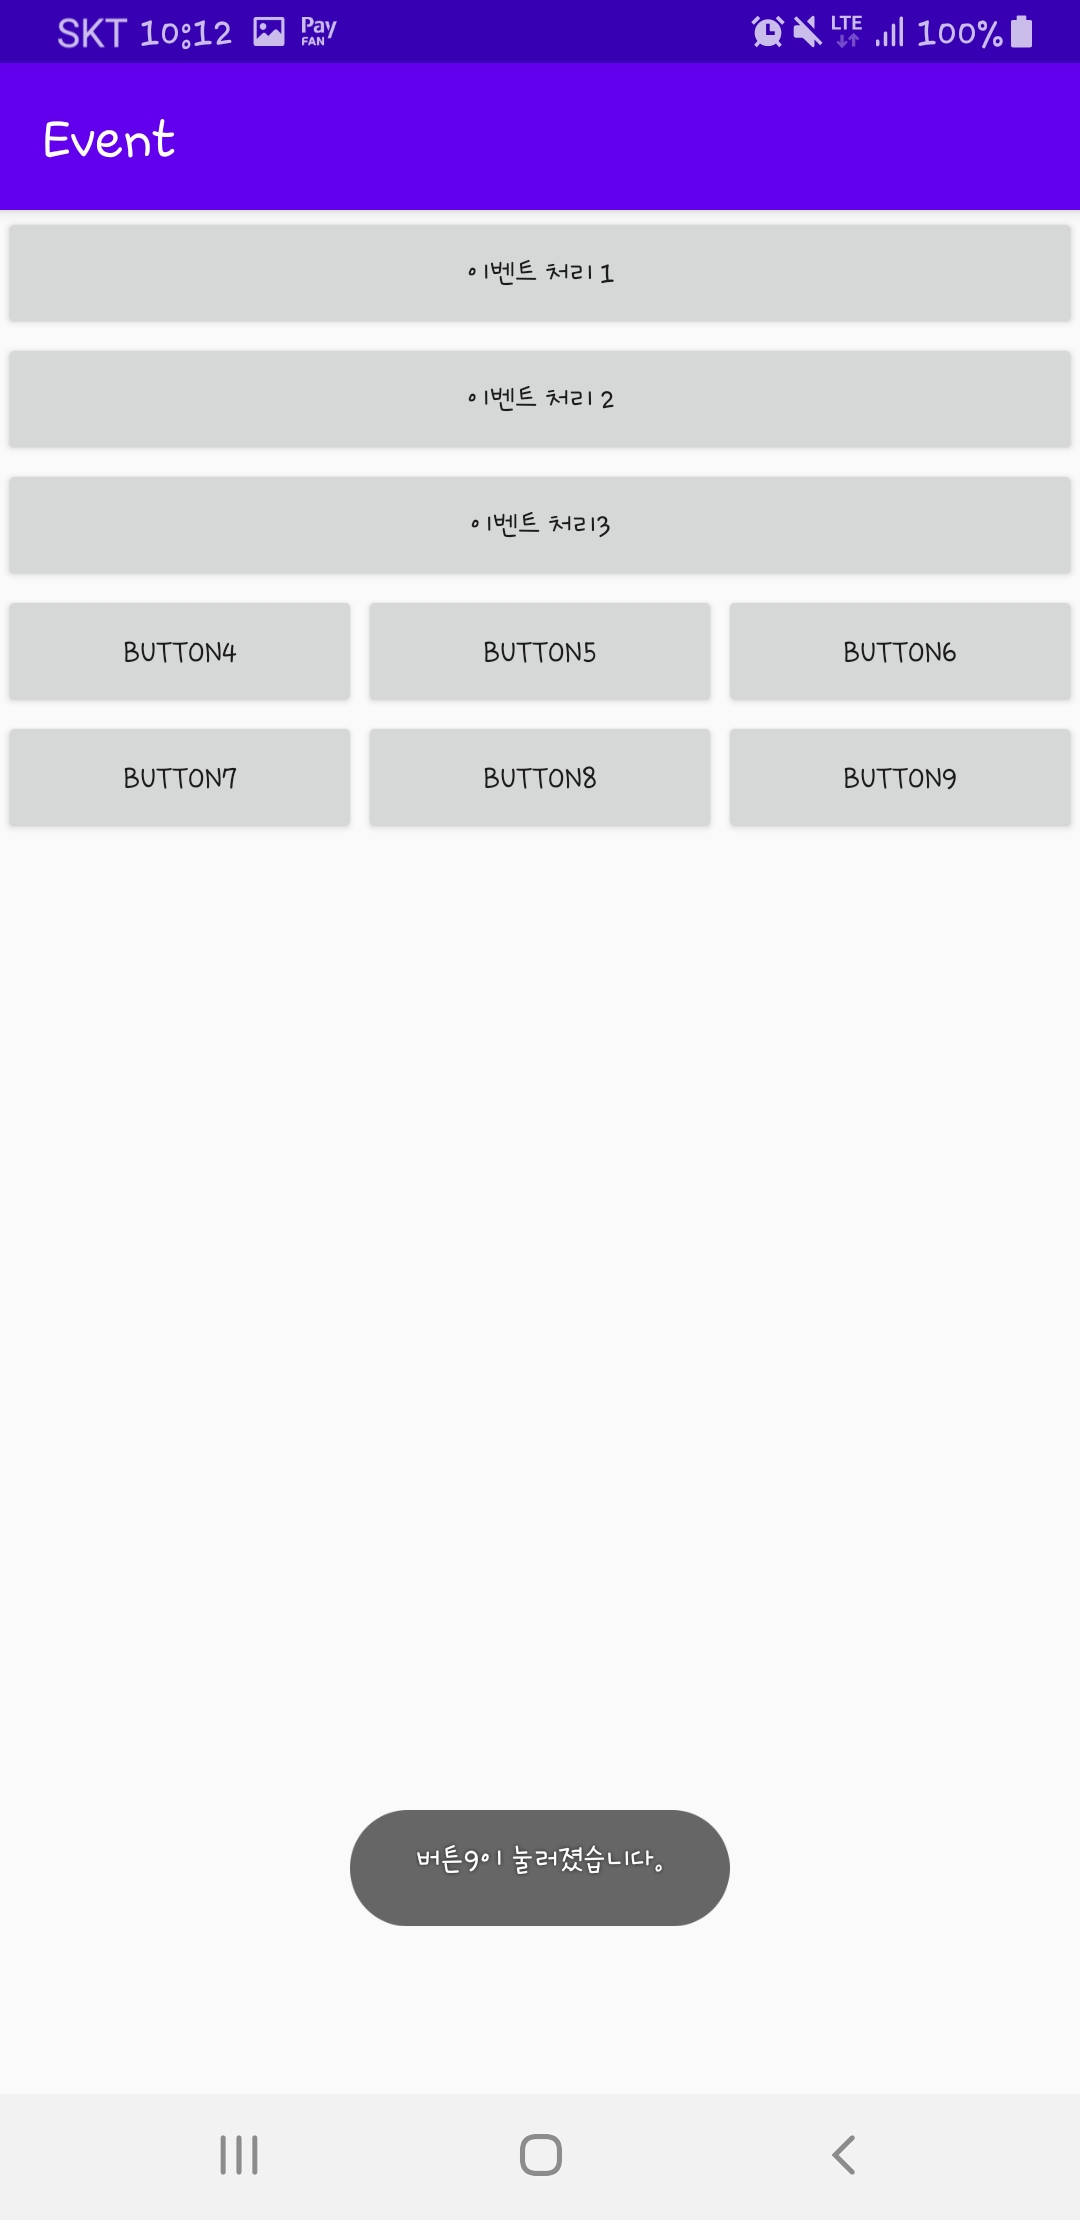
case R.id.button9:
Toast.makeText(getApplicationContext(),"버튼9이 눌러졌습니다.",Toast.LENGTH_SHORT).show();
break;
}
}
} // 7~9번 버튼을 실행하기 위한 클래스 생성 후 이벤트 지정
}


반응형
'안드로이드 스튜디오' 카테고리의 다른 글
| 안드로이드 스튜디오 event 처리 4 (seekbar) (0) | 2020.04.19 |
|---|---|
| 안드로이드 스튜디오 터치 이벤트 (0) | 2020.04.19 |
| 안드로이드 스튜디오 event 처리 3 (0) | 2020.04.18 |
| 안드로이드 스튜디오 event 처리2 (0) | 2020.04.18 |
| 안드로이드 스튜디오 시작하기 (0) | 2020.04.05 |